Showing posts with label mother's day crafts. Show all posts

Thursday, April 15, 2010

To Mom, with Love: Free Mother's Day Card, Recipe and Jewelry Project!

Mother's Day is right around the corner and if you're struggling with what to do to make mom feel special, I've got some ideas for you!  Here is a card I made using the fabulous Blue Hills Studio Magnetic Multi-Shaper punch, a recipe for a healthy and delicious chicken dinner and a jewelry design that's sure to set her heart a flutter.


Wings Mother's Day Card


Materials
Turquoise medium weight cardstock
K&Company Que Sera Sera Designer Paper
K&Company Layered Accents Butterflies
Wired tinsel
Printed elements: "Soar, dare, dream..." "Thank you for giving me wings." turquoise Freestyle Script font 36pt.
Scrapbook Adhesives EZ Dots repositionable glue runner
Wonder double sided tape

Tools
Paper cutter
Bone folder
Ruler
Blue Hills Studio Magnetic Multi-Shaper Punch 'Tweet, tweet'

1.  Select area of paper you want to feature.  Using the square template on the punch, create a small square.

2. Cut cardstock on paper cutter to 5.5"x7.75".

3.  Fold card in center and crease edge with bone folder.

4. Measure center of card and use edge punch to create decorative edge, repeat on both sides of center punch.

5. Create the text and print.

6. Use paper cutter to cut out text leaving a small border.

7.  Adhere square to center of card front using glue runner.

8.  Adhere 'Soar, dare, dream...' across square using glue runner and 'Thank you for giving me wings.' to center inside of card with glue runner.

9.  Adhere butterfly to top left edge of square.

10.  Cut tinsel to fit width of card.  Cut tape to fit the width of the tinsel.  Adhere tinsel above punched edge.


Almond Parmesan Crusted Chicken with Campari Tomato Salad


Ingredients
1 cup almonds
1/4 cup shredded parmesan
2-3 cloves garlic
1 cup whole wheat bread crumbs
1 pound boneless skinless chicken breasts cut into strips
1/2 cup Light olive oil

Pour olive oil into a bowl.

Use food processor to crush almonds and garlic.  Place in a second bowl.

Add parmesan cheese and whole wheat bread crumbs and blend with fork.

Dip chicken strips into olive oil and coat with crust mix.

Bake on a cookie sheet at 400 degrees for about 15-20 minutes until brown and crispy, turning midway to crisp both sides.

Serve on a bed of Spring Greens with a side of sliced Campari tomatoes sprinkled with feta cheese and basil and a light olive oil and balsamic vinagrette.  Add a side of asparagus with lemon and butter substitute spray.


Blackbird Fly Necklace
Copyright 2009 Margot Potter

Materials
Blue Moon Beads ceramic bird pendant
12mm jet Crystallized-Swarovski Elements pearls
2 vintage plastic striped beads from Beadin' Path
2 12mm chalkwhite Lucite filigree beads
20 gauge silver plated Artistic Wire
Black and white satin cording
36 silver plated 6mm jump rings
.018 49 strand Beadalon wire
2 Scrimp cable ends
1.5" thick black and white polka dot wired ribbon


Tools
Scrimp tool
Wire cutters
Round nose pliers
Chain nose pliers
Scissors

1.  (If you can't find this specific pendant at a local craft chain, substitute a different bird themed pendant and suspend it from the center of the beaded segment on a jump ring and tie ribbon to front of ring.) This pendant has two holes drilled in the front.  Thread a 5" segment of wire into the right hole, leaving a little more than 1" exposed on one end.  Thread the wire into the left front of pendant.  Thread wire across front of pendant and into the right hole.  Bend wires flush to back of pendant.  Use round nose pliers to create loops at the top of the wires, the wire ends with loops should each measure 1" in length, cut off excess wire.

2.  Attach a Scrimp end to a 6" strand of 49 strand wire.  Thread the beads on in the following order: pearl, 2 jump rings, pearl, 3 jump rings, striped bead, 3 jump rings, filigree bead, 3 jump rings, loop at top left of pendant, pearl, 3JR, pearl, 3JR, pearl, loop at top right of pendant, 3JR, striped bead, 3JR, pearl, 3JR, pearl, 3JR, filigree, 3JR, pearl.  Thread wire end into Scrimp and attach.

3.  Tie 3" ribbon bow at front of pendant around wired section.

4.  Attach a jump ring to the Scrimp on each side of the beaded segments.

5.  Tie a 25" black satin cord through Scrimp at the center of the cord, repeat on opposite side with white cord.  Tie a knot in both ends of each satin cord.  Cut off any excess cord with scissors.

Note: Several of the products featured in the craft projects in this post were donated to the designer by the manufacturers.

Wednesday, March 31, 2010

ILoveToCreate: A Little Birdy Mother's Day Card


A Little Birdy Mother’s Day Card
Margot and Avalon Potter for ILoveToCreate
Copyright 2010
“Mom crafted, kid approved.”

Mother's Day is coming soon and here's a great way to give Mom something handcrafted and from the heart.  This card is a work of art she can frame and enjoy for many years to come. You can use any layered dies and coordinated papers you prefer so your card is custom made for your Mom!


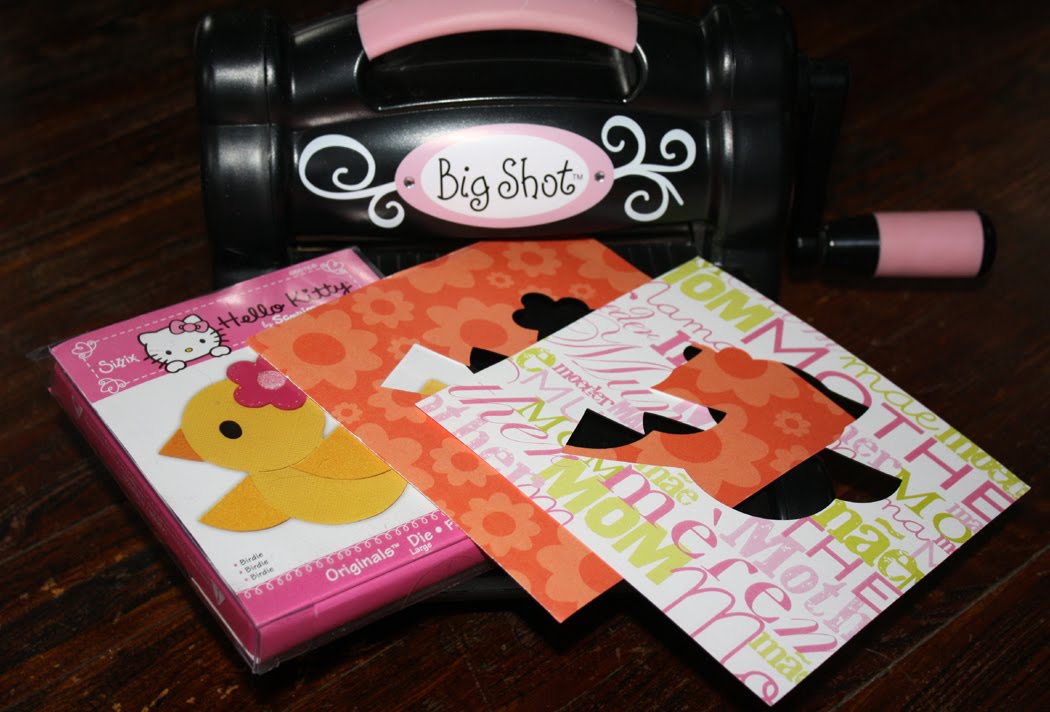
My daughter Avalon and I love all things Hello Kitty. I mean we LOVE all things Hello Kitty and particularly the array of characters in her pantheon. So when she picked out this adorable bird die and wanted to do a project with it, it was kismet. I'm really happy with how this all came together.  This card has everything I love on it and is from the person I love the most in the world. It really doesn’t get better than that, does it? You can use any layered dies you like, just gather up a variety of coordinating papers and cut the layers so they are multi-patterned. It is so easy to stick it all together with Aleene’s glue stick and Liquid Fusion glue. You can take a trip to pick up the materials and stop by your local thrift shop or Antique mall to score the buttons and have some good quality mother/daughter time. Let’s face it-every gal likes an excuse for a shopping trip!

Materials
Sizzix Hello Kitty Big Shot Die “Birdie”
Sizzix Large Folder Flowers, Spring and Paisley Embossing Set
Martha Stewart Lace Edge Punch
Coordinated Patterned Scrapbook Papers (you’ll need 5 different sheets)
Coordinated Heavy Cardstock in a solid color to match patterned papers
Various coordinating vintage or new buttons and buckles to stack in layers
Printed out text in Mia’s Scribblings 24 pt. from daFont.com “A Little Birdy Told Me It Was Your Special Day” and  “Happy Mother’s Day From Your Little Birdy”
Aleene’s Liquid Fusion Glue
Aleene’s Acid Free Tacky Glue Stick

Tools
Sizzix Big Shot Machine with accessories/platform
Scissors
Wire Cutters
Bone Folder
Precision Paper Cutter (I have a big office sized one here, but you can use a smaller one. )

1. Create your card background by cutting a large piece of cardstock to 11.5” tall and 7” wide on a paper cutter.

2. Fold paper along center, lining up edges and use bone folder to make a sharp crease.


3. Cut the Birdie die three times, using three different coordinating papers.

4. Use scissors to cut out elements in various colors for layering, following the marks left by the die cutter. I did the wings in one color, the flower and beak in another and the background in a third.

5. Use glue stick to adhere layers together.

6. Emboss a fourth coordinating patterned paper with the flowers folder.

7. Cut this on a paper cutter to 3.5” tall by 5.5” wide.

8. Cut a final coordinating paper to 4” tall by 5.5” wide.

9. Use the fancy edge punch to make a decorative edge along the top and bottom of the embossed sheet. Line the holes up with the image on the punch to make sure you get an unbroken line.

10. Print your text. Cut around text leaving a thin border.


11. Place inside text segment on a final coordinating piece of patterned paper and mark so you can cut it to frame your text.

12. Use a glue stick to layer the various elements. The front of the card starts with the centered 3.5x5.5 rectangle, followed by the centered embossed rectangle on an angle and the bird which is on an opposite angle. See photo for details.

13. Adhere text to the bottom left corner of the card with a glue stick.

14. Select buttons for top left and bottom right edges of your design, the flower and the eye on the bird. I took an old plastic buckle and cut out the center rung for the bottom left accent. I also placed the buttons so the inner buttons were flush to the edge of the central image. See photo for details.

15. Adhere the inside text to the border using a glue stick. Adhere that to the center of the inside of the card on an angle.