Showing posts with label card making. Show all posts

Tuesday, June 15, 2010

ILoveToCreate Teen Crafts: My Dad Rocks Father's Day Card


ILoveToCreate Teen Crafts
My Dad Rocks Father's Day Card
Margot Potter
"Mom crafted, kid approved."

School's out for summer around these parts and Father's Day is coming up fast. Where does the time go?! Phew! Here's a great "I'm bored" project for your teens to do that will rock Dad's socks off on his special day. The cost of store bought cards has skyrocketed, this gives Dad a personalized work of art for a fraction of the price of a generic card from the grocery store. Ya gotta love it!


Materials
8.5"x11" card stock in turquoise and acid green
Rock Star stack or similar themed papers
Printed phrase "My Dad Rocks" using Jellyka Castle's Queen Font in 48pt. from www.daFont
Vintage paper (we used an old typing manual)
7 Gypsies numbered gaffer's tape
Scrapbook Adhesives three dimensional stickers
Aleene's original Tacky Glue or Tacky Glue Stick
Tulip Fashion Graffiti Big Phat fabric marker in black
Tulip Fashion Graffiti Paint Cannon fabric paint in black

Tools
Fiskars 2" circle punch
Scissors
Bone folder
Paper cutter

1. Print phrase.

2. Fold blue card stock in half and use bone folder to sharpen crease. Cut folded paper to 6.5w" on a paper cutter.

3. Cut green card stock to a 2"wx5"l. Cut paper with phrase to 1.5"x4.5"l. Adhere phrase to card stock using a VERY thin layer of glue. Allow to dry.

4. Punch circles. I featured the skull and some nautical stars.

5. Hand cut recycled paper circles so they are slightly larger than the punched circles.

6. Use marker and stencil to put chain link pattern across card diagonally from top left to bottom right, you will have to slide the stencil overlapping it to get the full coverage.

7. Use a paintbrush to drip black paint cannon paint on front of card. Use a stylus or other pointed tool to scratch the ink around. Allow ink to drip. Layer this as much as you like, but be mindful that this ink will create texture in the card, so less is more.

8. Adhere circles using a thin layer of Tacky Glue or Tacky Glue stick. The recycled circles first followed by your punched circles set off center, they need to be about 1.75" apart in the center to allow room for the phrase.

9. Attach gaffer's tape to left edge of card.

10. Use dimensional stickers to add phrase to front of card in between the circles on an angle pointing from upper left to lower right corners.

Wednesday, March 31, 2010

ILoveToCreate: A Little Birdy Mother's Day Card


A Little Birdy Mother’s Day Card
Margot and Avalon Potter for ILoveToCreate
Copyright 2010
“Mom crafted, kid approved.”

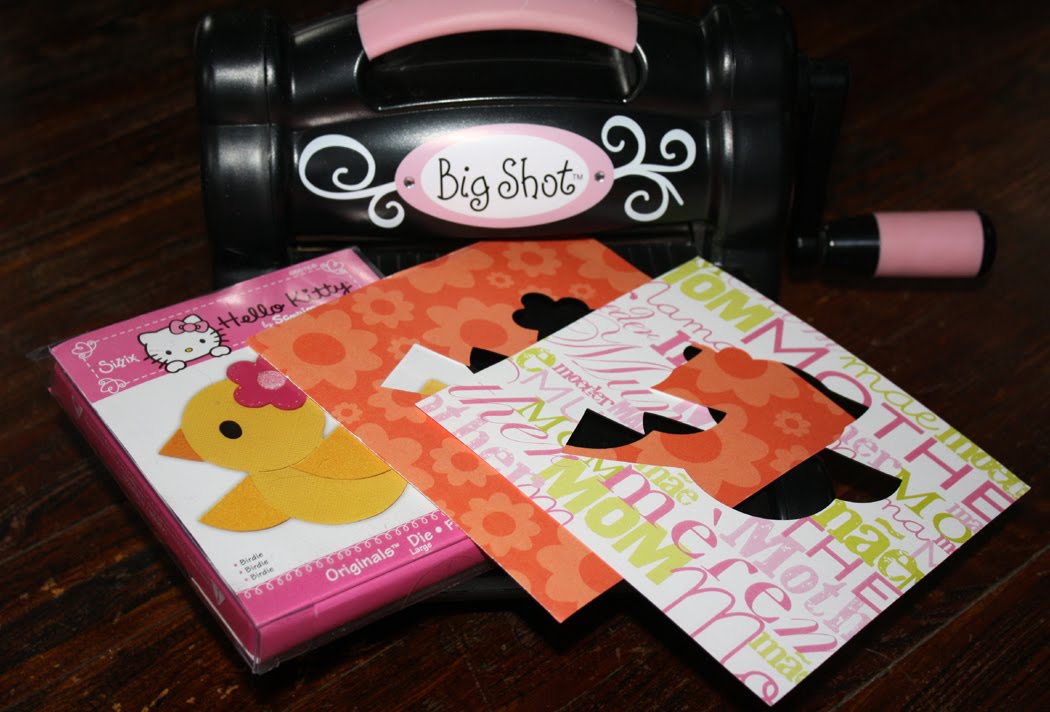
Mother's Day is coming soon and here's a great way to give Mom something handcrafted and from the heart.  This card is a work of art she can frame and enjoy for many years to come. You can use any layered dies and coordinated papers you prefer so your card is custom made for your Mom!


My daughter Avalon and I love all things Hello Kitty. I mean we LOVE all things Hello Kitty and particularly the array of characters in her pantheon. So when she picked out this adorable bird die and wanted to do a project with it, it was kismet. I'm really happy with how this all came together.  This card has everything I love on it and is from the person I love the most in the world. It really doesn’t get better than that, does it? You can use any layered dies you like, just gather up a variety of coordinating papers and cut the layers so they are multi-patterned. It is so easy to stick it all together with Aleene’s glue stick and Liquid Fusion glue. You can take a trip to pick up the materials and stop by your local thrift shop or Antique mall to score the buttons and have some good quality mother/daughter time. Let’s face it-every gal likes an excuse for a shopping trip!

Materials
Sizzix Hello Kitty Big Shot Die “Birdie”
Sizzix Large Folder Flowers, Spring and Paisley Embossing Set
Martha Stewart Lace Edge Punch
Coordinated Patterned Scrapbook Papers (you’ll need 5 different sheets)
Coordinated Heavy Cardstock in a solid color to match patterned papers
Various coordinating vintage or new buttons and buckles to stack in layers
Printed out text in Mia’s Scribblings 24 pt. from daFont.com “A Little Birdy Told Me It Was Your Special Day” and  “Happy Mother’s Day From Your Little Birdy”
Aleene’s Liquid Fusion Glue
Aleene’s Acid Free Tacky Glue Stick

Tools
Sizzix Big Shot Machine with accessories/platform
Scissors
Wire Cutters
Bone Folder
Precision Paper Cutter (I have a big office sized one here, but you can use a smaller one. )

1. Create your card background by cutting a large piece of cardstock to 11.5” tall and 7” wide on a paper cutter.

2. Fold paper along center, lining up edges and use bone folder to make a sharp crease.


3. Cut the Birdie die three times, using three different coordinating papers.

4. Use scissors to cut out elements in various colors for layering, following the marks left by the die cutter. I did the wings in one color, the flower and beak in another and the background in a third.

5. Use glue stick to adhere layers together.

6. Emboss a fourth coordinating patterned paper with the flowers folder.

7. Cut this on a paper cutter to 3.5” tall by 5.5” wide.

8. Cut a final coordinating paper to 4” tall by 5.5” wide.

9. Use the fancy edge punch to make a decorative edge along the top and bottom of the embossed sheet. Line the holes up with the image on the punch to make sure you get an unbroken line.

10. Print your text. Cut around text leaving a thin border.


11. Place inside text segment on a final coordinating piece of patterned paper and mark so you can cut it to frame your text.

12. Use a glue stick to layer the various elements. The front of the card starts with the centered 3.5x5.5 rectangle, followed by the centered embossed rectangle on an angle and the bird which is on an opposite angle. See photo for details.

13. Adhere text to the bottom left corner of the card with a glue stick.

14. Select buttons for top left and bottom right edges of your design, the flower and the eye on the bird. I took an old plastic buckle and cut out the center rung for the bottom left accent. I also placed the buttons so the inner buttons were flush to the edge of the central image. See photo for details.

15. Adhere the inside text to the border using a glue stick. Adhere that to the center of the inside of the card on an angle.